June 29th, 2026
Why
Anyone who knows your webhook URL can send fake requests to it. Signature verification lets you confirm a payload actually came from Hirevire before you act on it.
What's new
Every webhook request now includes an X-Hirevire-Signature header (t=timestamp,sha256=hmac) and an X-Hirevire-Timestamp header, generated from a signing secret you control. Verify them on your end to reject spoofed or tampered payloads.

Where
Job Settings → Advanced Settings → Webhooks
How it works
Open a job's Webhook settings and expand Advanced Settings
Under Signing secret, click Generate (or paste your own secret), then Save
On your endpoint, compute the
HMAC-SHA256of the timestamp, a dot, then the raw request body, and compare the hex digest against the signature inX-Hirevire-Signature
Notes
Available on Agency and Platform plans only
Each job has its own signing secret
Leave the secret blank to disable signing, existing webhooks keep working without it
June 25th, 2026
New
Press Cmd+K (or Ctrl+K on Windows) from any page to pull up a universal search and command palette. Find a job, a candidate, or jump straight to a dashboard action, no more digging through menus.
What's New
Universal search: type a job title, candidate name, or keyword to surface matching records instantly
Command mode: type a command name or browse the list to jump directly to a page
How It Works
Press Cmd+K on Mac or Ctrl+K on Windows from anywhere in the dashboard, or click the Search... bar in the top-right header
Type to search jobs and candidates, or select a command from the list

Verified commands include Create job, Go to Jobs, View Reports, Go to Profile, Go to Billing, Team members, Set password, Deep Search settings, Email settings, Integrations, and Company details
June 19th, 2026
Improved
Candidates recording video answers on mobile can now play back their recording with sound before they submit. Previously the playback was silent, which made it hard to check an answer before sending it.
The recorder keeps the live preview muted to prevent audio feedback, and turns sound back on for playback so the native controls work as a tap-to-play with full audio.
June 15th, 2026
New
If you run hiring for more than one company, brand, or client, you can now keep them in separate organizations under a single Hirevire login and switch between them in a click.
Organization switcher in the app, so you move between organizations without logging out
Multi-org management for users who belong to more than one organization
Switch organizations from the trial-expired screen, so an expired trial in one org no longer blocks the others
Built for agencies, multi-brand teams, and anyone hiring across several companies.
June 12th, 2026
Fixed
A round of reliability and quality fixes across the product:
Recording reliability is improved for candidates with poor internet connections.
SMS: logs now show the correct error message.
Application forms: the form now scrolls to the first invalid field on submit, including on mobile
Date filters: fixed “is between” validation for date fields
Removed the Hirevire install app prompt on some mobile devices
Onboarding and upgrade page improvements
June 9th, 2026
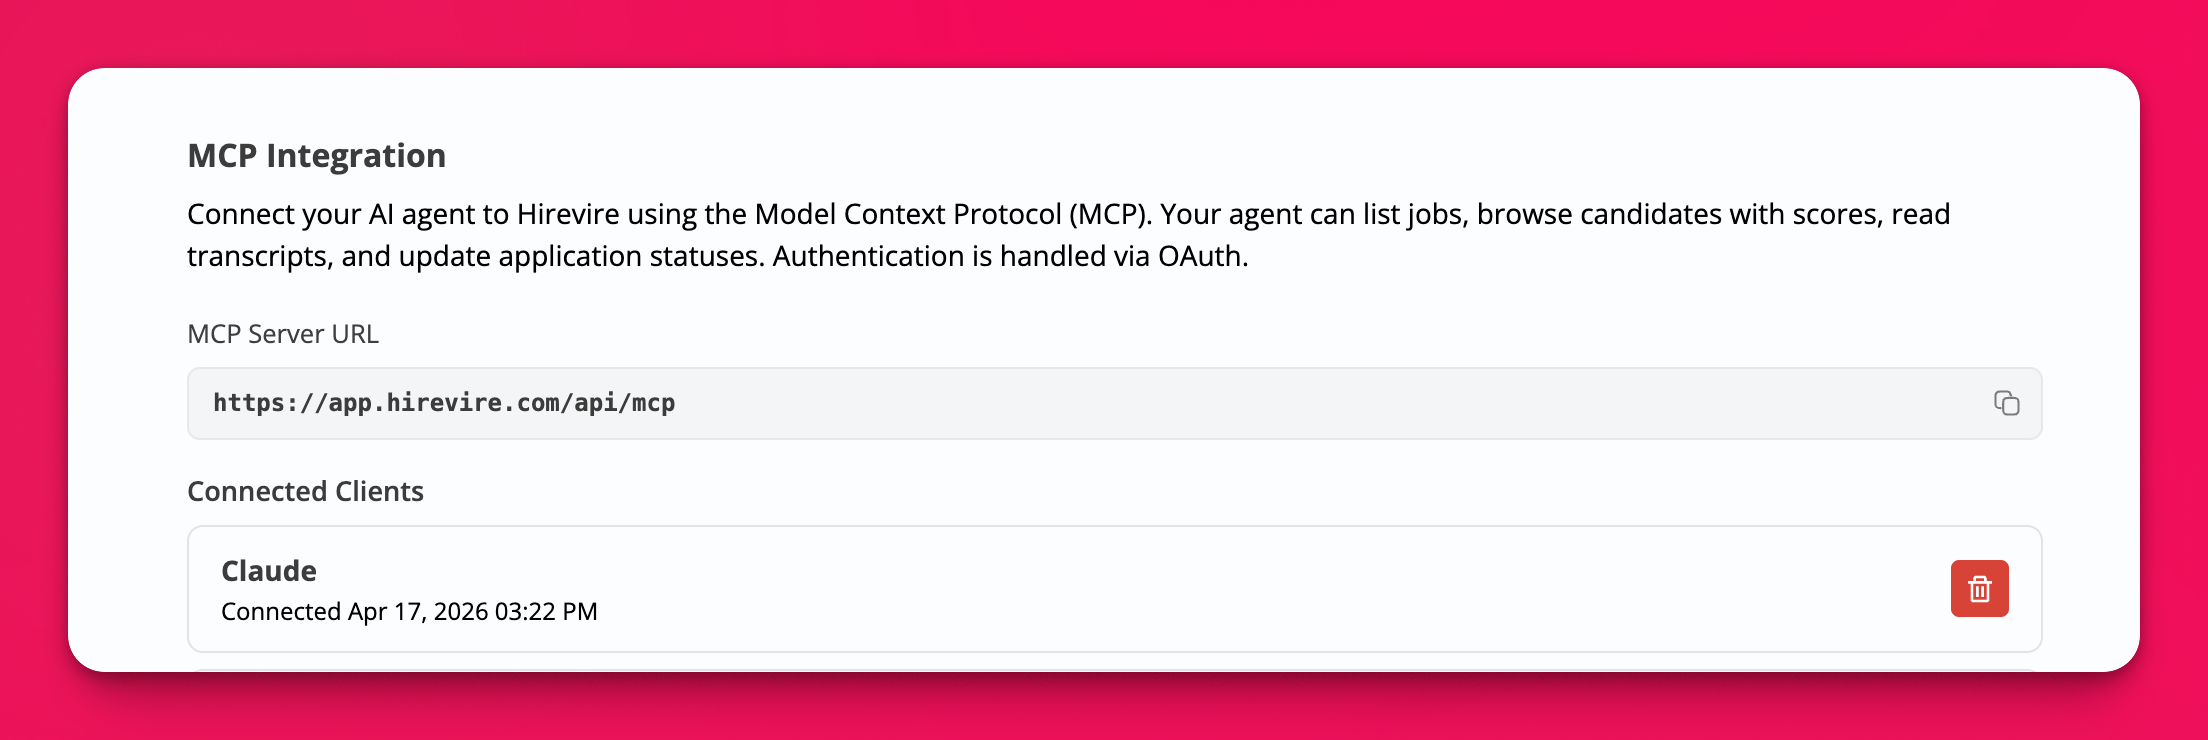
You can now connect an AI agent to Hirevire using the Model Context Protocol (MCP). Point Claude, ChatGPT, or any MCP-compatible agent at your Hirevire data and have it list jobs, browse candidates, read transcripts, and update application statuses in your own words.
This is now live on the Integrations page for all users with integration permissions. No special enablement needed anymore.
What your agent can do once connected:
List the jobs in your organization
Browse candidates along with their scores
Read application transcripts
Update application statuses (write scope required)
A few things this makes easier: ask your agent to pull every candidate above a score threshold for a role, summarize a batch of transcripts before you review them, or move shortlisted candidates without clicking through screens. If your ATS also has an MCP server, your agent can work across both at once.
How to connect:
Server URL:
https://app.hirevire.com/api/mcpAuthentication: OAuth 2.1
Open the MCP Integration option on the Integrations page, copy the server URL, and connect your agent.
June 2nd, 2026
Improved
When you export applications to CSV, the candidate’s name now comes through as two columns, First name and Last name, instead of one combined column. That makes it cleaner to import into spreadsheets, ATS systems, and mail-merge tools.
May 27th, 2026
Improved
If a candidate had a half-finished application for a job you have since archived, they used to see a generic error. Now they see a clear message that the job is no longer accepting applications, so they know to stop rather than refreshing and retrying.
May 20th, 2026
Fixed
The pre-recording audio and video test modal used to default to English regardless of the application language. It now follows the ?lang= query parameter, so a candidate applying in Japanese sees the test instructions in Japanese too.
May 12th, 2026
Improved
When you’re tracking how a job is performing, you usually want to know what changed last week, not the lifetime total. The job details page now has a period dropdown so you can scope the stats to the window that matters.
Where: Open any job and use the period dropdown at the top of the analytics section. Pick Last 7 days, Last 30 days, This month, or All time, and the numbers on the page update to match.